Android Auto is a popular platform that allows users to seamlessly integrate their Android devices with their car’s infotainment system. This integration extends to navigation, allowing users to launch navigation apps like Google Maps or Waze directly from Android Auto. In this blog post, we’ll explore how to achieve this functionality from within your Android application using .NET MAUI.
The key to launching navigation apps on Android Auto is to construct a URI with the desired latitude and longitude and use an Intent to open the navigation app. Let’s break down the code snippet you provided to understand how it works:
public class NavigationOnClickListener : Java.Lang.Object, IOnClickListener
{
    private readonly CarContext _context;
    private readonly double _latitude;
    private readonly double _longitude;

    public NavigationOnClickListener(CarContext context, double latitude, double longitude)
    {
        _context = context;
        _latitude = latitude;
        _longitude = longitude;
    }

    public void OnClick()
    {
        string uri = $"geo:{_latitude.ToString(CultureInfo.InvariantCulture)},{_longitude.ToString(CultureInfo.InvariantCulture)}";
        Intent intent = new Intent(CarContext.ActionNavigate)
            .SetData(AndroidUri.Parse(uri));
        _context.StartCarApp(intent);
    }
}
AndroidUri is the Android.Net.Uri class alias achieved by:
using AndroidUri = Android.Net.Uri;
Let’s dissect this code step by step:
NavigationOnClickListener is a custom class that implements the IOnClickListener interface. This class is responsible for handling the click event that launches the navigation app.
In the constructor, we receive three parameters: context, latitude, and longitude. context is the CarContext instance, and latitude and longitude are the destination coordinates (double).
Inside the OnClick method, we construct a URI in the following format: "geo:latitude,longitude". The CultureInfo.InvariantCulture is used to ensure that the decimal separator is a period (.) rather than a comma (,) to make the URI universally compatible. This is crucial because different regions may use different formats for numbers.
We create an Intent with the action CarContext.ActionNavigate. This action specifies that we want to launch a navigation app.
We set the data of the intent by parsing the constructed URI using AndroidUri.Parse(uri).
Finally, we start the navigation app by invoking _context.StartCarApp(intent).
This content has 6 months. Some of the information in this post may be out of date or no longer work. Please, read this page keeping its age in your mind.
Android Auto has become an integral part of the modern driving experience, allowing users to access important information and features without taking their eyes off the road. In this blog post, we’ll explore how to implement asynchronous loading of lists in Android Auto to ensure a smooth and responsive user experience.
If you are new how to implement Android Auto in your .NET MAUI Application, then scroll to the very end of this post, and you will find a detailed tutorial video by Christian Strydom how to do it.
Implementation
Let’s assume that we have a class with a list of SomeObject named _allItems. This list contains the data we want to display in an Android Auto list. If you dont have this private field of List<SomeObject> in your Android Auto Screen class, then define it like this: ‘private List<SomeObject> _allItems;’
We’ll use the OnGetTemplate method to check whether _allItems has data. If it doesn’t, we’ll start an asynchronous task to load the data and show a loading indicator. If it does, we’ll build the list with the existing data.
OnGetTemplate modify
In the OnGetTemplate method, we’ll first create a ListTemplateBuilder and check if _allItems has data:
public override ITemplate OnGetTemplate()
{
    var listTemplateBuilder = new ListTemplate.Builder();

    if (_allItems?.Any() != true)
    {
        // Start an async task to load data
        _ = LoadData();

        // Show a loading indicator
        return listTemplateBuilder.SetLoading(true).Build();
    }

    // Build the list using the existing data
    var items = BuildListItems(_allItems);
    listTemplateBuilder.AddItems(items);

    return listTemplateBuilder.Build();
}
Implement the Async Task
Now, let’s create an asynchronous task, LoadDataAsyncTask, which will invoke a method asynchronously to fetch and set the value of _allItems. We will use a hypothetical API call as an example:
    private async Task LoadData()
    {
        try
        {
            // Perform an asynchronous operation (e.g., an API call)
            var result = await SomeApiCallAsync(); // Replace with your actual API call

            // Set the value of _allItems with the result
            _allItems = result;
        }
        catch (Exception e)
        {
            // Handle exceptions and show a CarToast
            CarToast.MakeCarToast(CarContext , "An error occurred", CarToast.DurationLong).Show();
        }
        finally
        {
            // Ensure that the UI is invalidated
            // This will trigger the OnGetTemplate again.
            Invalidate();
        }
    }
Implementing asynchronous loading of lists in Android Auto ensures that your app remains responsive and user-friendly. By following this approach, you can fetch and display data efficiently, handle exceptions gracefully, and maintain a smooth user experience while driving. Android Auto provides a powerful platform for developers to create safe and engaging automotive experiences, and proper asynchronous loading is a key part of that experience.
This content has 6 months. Some of the information in this post may be out of date or no longer work. Please, read this page keeping its age in your mind.
One common challenge is AndroidX dependency conflicts. In this blog post, we’ll guide you through resolving compilation errors related to AndroidX in .NET MAUI. Before we proceed, let’s take a look at the error message that may have troubled you:
/Users/Username/Documents/src/ProjectFolder/Project: Error JAVA0000: Error in /Users/Username/.nuget/packages/xamarin.androidx.collection.jvm/1.3.0.1/buildTransitive/net6.0-android31.0/../../jar/androidx.collection.collection-jvm.jar:androidx/collection/ArrayMapKt.class:
Type androidx.collection.ArrayMapKt is defined multiple times: /Users/Username/.nuget/packages/xamarin.androidx.collection.jvm/1.3.0.1/buildTransitive/net6.0-android31.0/../../jar/androidx.collection.collection-jvm.jar:androidx/collection/ArrayMapKt.class, /Users/Username/.nuget/packages/xamarin.androidx.collection.ktx/1.2.0.5/buildTransitive/net6.0-android31.0/../../jar/androidx.collection.collection-ktx.jar:androidx/collection/ArrayMapKt.class
Compilation failed
java.lang.RuntimeException: com.android.tools.r8.CompilationFailedException: Compilation failed to complete, origin: /Users/Username/.nuget/packages/xamarin.androidx.collection.jvm/1.3.0.1/buildTransitive/net6.0-android31.0/../../jar/androidx.collection.collection-jvm.jar
androidx/collection/ArrayMapKt.class
In my case the meaning of this error message is: Type androidx.collection.ArrayMapKt is defined multiple times
Examine Dependencies and Manually Delete bin and obj Folders:
Start by inspecting your project’s dependencies. Ensure that you have the same versions of .NET MAUI packages and other libraries. Dependency mismatches can often lead to compilation errors.
Sometimes, cleaning your project isn’t enough. To ensure a fresh build, you might need to manually delete the bin and obj folders. You can find these folders in your project directory. They contain build artifacts and removing them helps clear cached data.
Verify NuGet Packages:
Review your NuGet packages. Look out for multiple versions of the same library, as this can lead to conflicts. If you find any conflicting packages, remove the outdated or conflicting versions. You may need to edit your project’s .csproj file to resolve these package issues.
Additionally, if you’ve recently installed a new NuGet package with has an Android dependency, make sure you have the correct version. A different version might introduce incompatibilities with the already installed pacakages.
This content has 6 months. Some of the information in this post may be out of date or no longer work. Please, read this page keeping its age in your mind.
In the realm of software development, encountering bugs is an inevitable part of the process. In this blog post, we will delve into a bug specific to the Android platform in .NET MAUI applications. This bug affects the Map control, where the MoveToRegion method fails to update the visible region under certain circumstances. We will explore the symptoms of this bug and present a workaround that involves creating a custom child class of the Map control and overriding the OnPropertyChanged method of the IsVisible property.
Symptoms
The bug we are addressing pertains to the Map control in .NET MAUI applications on the Android platform. In some cases, the MoveToRegion method fails to modify the visible region of the map, resulting in the region staying the same despite the attempted change. This issue can lead to inconsistencies in map display and user experience.
Workaround
To overcome this bug, we can implement a workaround that involves creating a custom child class of the Map control and overriding the OnPropertyChanged method of the IsVisible property. By introducing a small delay and invoking the MoveToRegion method on the UI thread, we can ensure that the visible region updates correctly.
Begin by creating a new class that derives from the Map control. This class will serve as a custom child class that incorporates the necessary workaround logic.
public class CustomMap : Map
{
    protected override void OnPropertyChanged([CallerMemberName] string propertyName = null)
    {
        base.OnPropertyChanged(propertyName);

        if (propertyName == nameof(IsVisible))
        {
            if (IsVisible)
            {
                Task.Run(async () =>
                {
                    // Introduce a small delay before invoking MoveToRegion
                    await Task.Delay(1500);

                    Device.BeginInvokeOnMainThread(() =>
                    {
                        MoveToRegion(...);
                    });
                });
            }
        }
    }
}
Replace the Map control instances in your .NET MAUI application with instances of the newly created CustomMap control. This ensures that the workaround logic is applied.
The bug affecting the Map control on the Android platform in .NET MAUI applications, where the MoveToRegion method fails to update the visible region, can be frustrating for developers and users alike. However, by implementing the workaround provided in this blog post, which involves creating a custom child class of the Map control and overriding the OnPropertyChanged method of the IsVisible property, you can ensure that the visible region updates as intended.
It’s important to note that while this workaround provides a solution to the bug, it’s advisable to keep track of official .NET MAUI updates and bug resolutions. Check for any fixes or enhancements provided by the .NET MAUI team, as they may address this bug in future releases.
This content has 11 months. Some of the information in this post may be out of date or no longer work. Please, read this page keeping its age in your mind.
In this article, I would like to share my own experience of how I use different service providers to make sure that my files, music, passwords, emails are available on all my devices. Be it macOS, Windows, Android or iOS. The services detailed below reflect my personal preferences. It is possible that there are better providers that are cheaper or that offer more functionality. If you know of such, help readers by writing in to tell us what works for you. I personally do not like Google’s services. I will not recommend Google Drive, Authenticator and other services in this article, but I am sure that their solutions can solve the architecture I consider to be proven.
What I’d like to show you is how I manage in my daily life to make sure that all my data is in sync and accessible on all my devices, almost without exception.
File Storage and e-mail account. Notes, Calendar, Contacts.
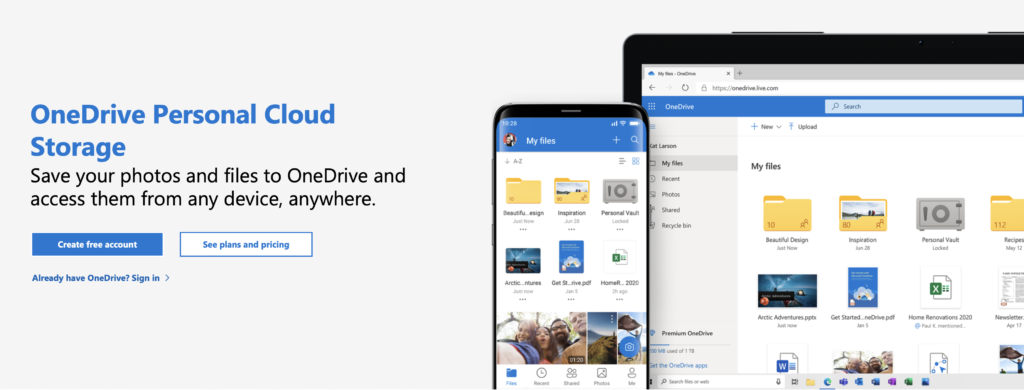
I personally chose Microsoft’s OneDrive technology as my storage and email provider. They give you 5GB of cloud storage space in their free plan, and an extra 15 GB for emails. For a very long time I subscribed to Microsoft OneDrive +100GB for $2 per month, which is fair, but then recently I decided to subscribe to Microsoft Office 365. Partly so I could have a licensed Microsoft Office subscription of my own to access important files on my personal computer, and partly because they are increasing the cloud storage to 1TB. On top of that, we also get support for recovering our deleted, lost files, or if a file encryption caused by a ransomware virus happens, it can detect and stop the operation. The one terabyte package runs around $60 for a year (+VAT, which is 27% in Hungary). If you buy it, you’ll also no longer have to watch the notifications on the outlook.com web interface. You also get the desktop versions of these in addition to the web versions of Excel, Word, Powerpoint. You can install the desktop version of Microsoft Office on 5 computers with one license key.
OneDrive use pretty serious file encryption, so you can feel safe with your files here, but if you have something really personal in your cloud, there’s the safe feature, which uses an extra encryption algorithm in addition to a number of security requirements
On Windows the OneDrive client is integrated, on macOS it can be installed separately, it integrates quite nicely into the system. You can configure them not to download the entire cloud content to your computer unnecessarily, but to have a file available in the file structure in case you want to store it. What it does is download the file to the physical hard disk before use. This saves a lot of space. On Android, the OneDrive client also integrates quite well with the operating system, but I don’t use an Android device on a daily basis, just an iPhone. Mobile clients can automatically back up your camera roll. The upload is an interesting solution for iOS, as they couldn’t do it in the background: they developed a screen called “Night Backup”, which basically layers a wakelock on the display and takes the brightness off the phone. You can view files on your mobile “without downloading”. Handles the web client for the iPhone HEIC format.
Your Outlook email address can be accessed via an Exchange server, which also allows you to save Calendar and Reminders, Notes, Contacts. Personally, I have all syncing turned off in iCloud because I sync my notes to my Outlook account. If you set macOS and iOS to take your outlook email address as your Internet account, the built-in Notes, Email, Calendar app can handle it. This is good because in Windows it’s also built-in to sync everything to the outlook account, so you get a Notepad and Calendar on top of the emails. So if you add a meeting to your calendar, it’ll show up immediately on your iOS/Android device, and also on macOS. Of course it works in all directions. The only downside to the notepad is that on macOS you can’t bold letters, insert a diagram, etc. in the notes app. So if you have an iPad and an Apple Penciled, you’ll have to choose a different way to draw.
Plus one thing besides Outlook that I haven’t seen with any other provider: you can assign aliases to your email address. So you don’t have to register a new email address if you get bored of your old email, you can simply add another address to the account and use up to 10 email addresses with one mailbox. You can find out more about the packages and their services here: https://www.microsoft.com/en-us/microsoft-365/onedrive/compare-onedrive-plans?activetab=tab%3aprimaryr1
Music
This is probably the subject I have dealt with the least. I spend about 80,000 minutes a year listening to music. I clearly chose an online music service provider. My choice was Spotify. Since then, I have tried a service called Tidal once, which is quasi the same as Spotify, but lossless music, but I didn’t feel it was worth the extra money, I couldn’t take advantage of it. Spotify has the ability to sync playlists between all platforms. It has a relatively good algorithm for recommending music. You can download tracks of reasonable quality for offline listening on its mobile app. The radio in my car supports it natively. Of course, the 1TB of storage space could hold a lot of music, but you don’t have to worry about downloading it
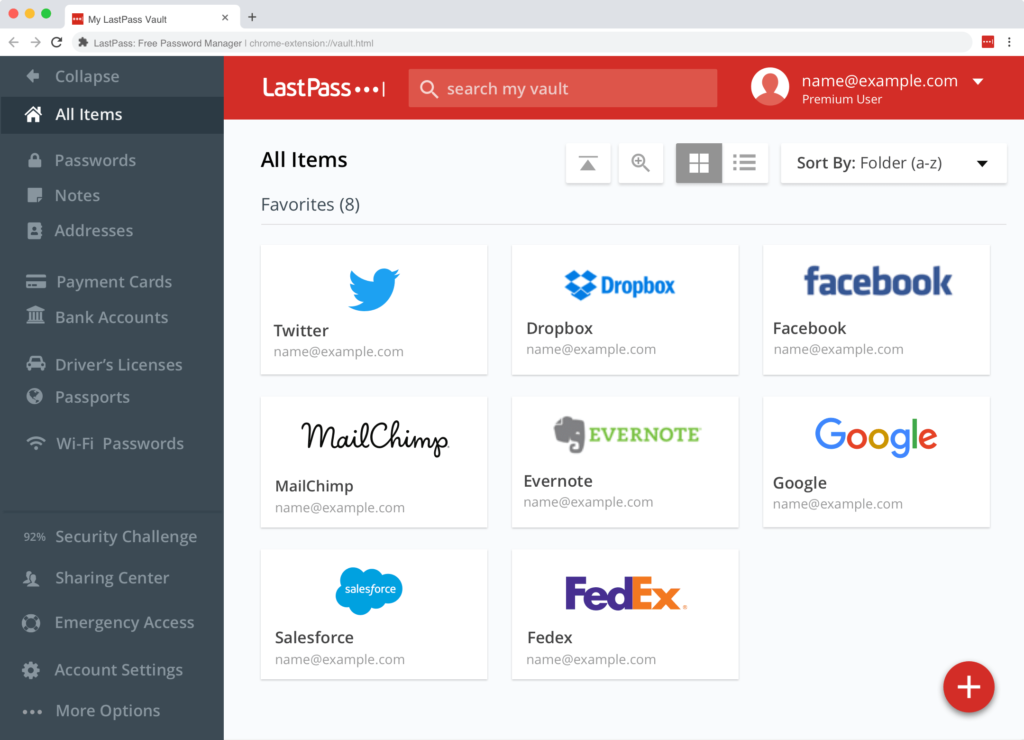
I never use the same password on any service. In fact, it could be said that I don’t even use passwords, because I don’t know any of them by memory. This is because I let the computer generate super long and complicated passwords. That’s pretty much how to use a password manager effectively, and how to perhaps exist one step more securely on the Internet.
What was important to me was to make the password manager work on macOS and windows, and to be able to add passwords to iOS not only in safari, but also in the apps.
Microsoft Authenticator could have been the perfect solution, but it wasn’t. (https://www.microsoft.com/en-us/security/mobile-authenticator-app) As I am logged in to my work account on my devices, where the password storage functionality of the Authenticator application is disabled by policy, I cannot add passwords to my personal account. But maybe that’s okay, it’s less responsibility on my Microsoft account. After much searching, I found LastPass to be the most sensible password management application. It works on mac on windows, in all browsers, and integrates with iOS. And it can also fill in passwords in apps. https://www.lastpass.com/pricing.
Another very important thing is to protect your account from unauthorised access. Almost all websites can be set up with two-factor authentication, be it Instagram, Facebook, GitHub, etc. Lastpass also has an Authenticator application that can generate such two-factor passcodes. Just like Microsoft authenticator. I’ve set up two-factor authentication everywhere.
This content has 2 years. Some of the information in this post may be out of date or no longer work. Please, read this page keeping its age in your mind.