
In order to do automated builds in Azure DevOps with the .NET MAUI Release Candidate release, we need a few extra steps in the pipeline configuration. I used these steps to ensure that the NuGet packages I develop are automatically compiled and uploaded to NuGet.org. In this article I won’t go into detail about how to create a CI pipeline, I just want to show you the difference from a normal CI pipeline. I haven’t tried building and deploying applications in the cloud at the moment, but it can probably be done. Also, I don’t go into how to make the package automatically go to NuGet.org, for that I recommend an earlier article (and also how to create a CI/CD pipeline): https://www.banditoth.net/2021/11/09/azure-devops-setup-private-nuget-feed-with-ci/
Since a final version of .NET MAUI has not been released as of today, in order to build our applications in the cloud, we need to install the MAUI Workload on the Agent.
If we do not do this, we may encounter the following error:
Error NETSDK1147: To build this project, the following workloads must be installed: maui-windows
Adjust your pipeline
In order to install the workload on our build agent, create a new task at the very beginning in the pipeline file, which is executes a command in the command line:
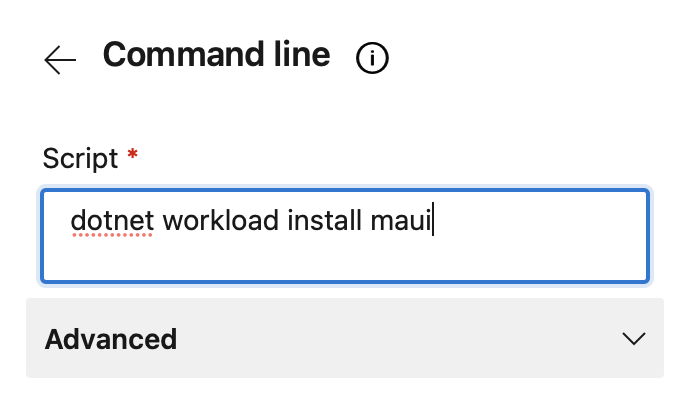
This will result the following task in the yaml file:
- task: CmdLine@2
  inputs:
    script: 'dotnet workload install maui'
The installation of the workload will take about 5 minutes.
From now on, you will be able to use .NET Maui references on the pipelines too. This will let you build your packages in the cloud.
Once MAUI will be officially available, probably you don’t need these steps.